README
Expense Tracker App
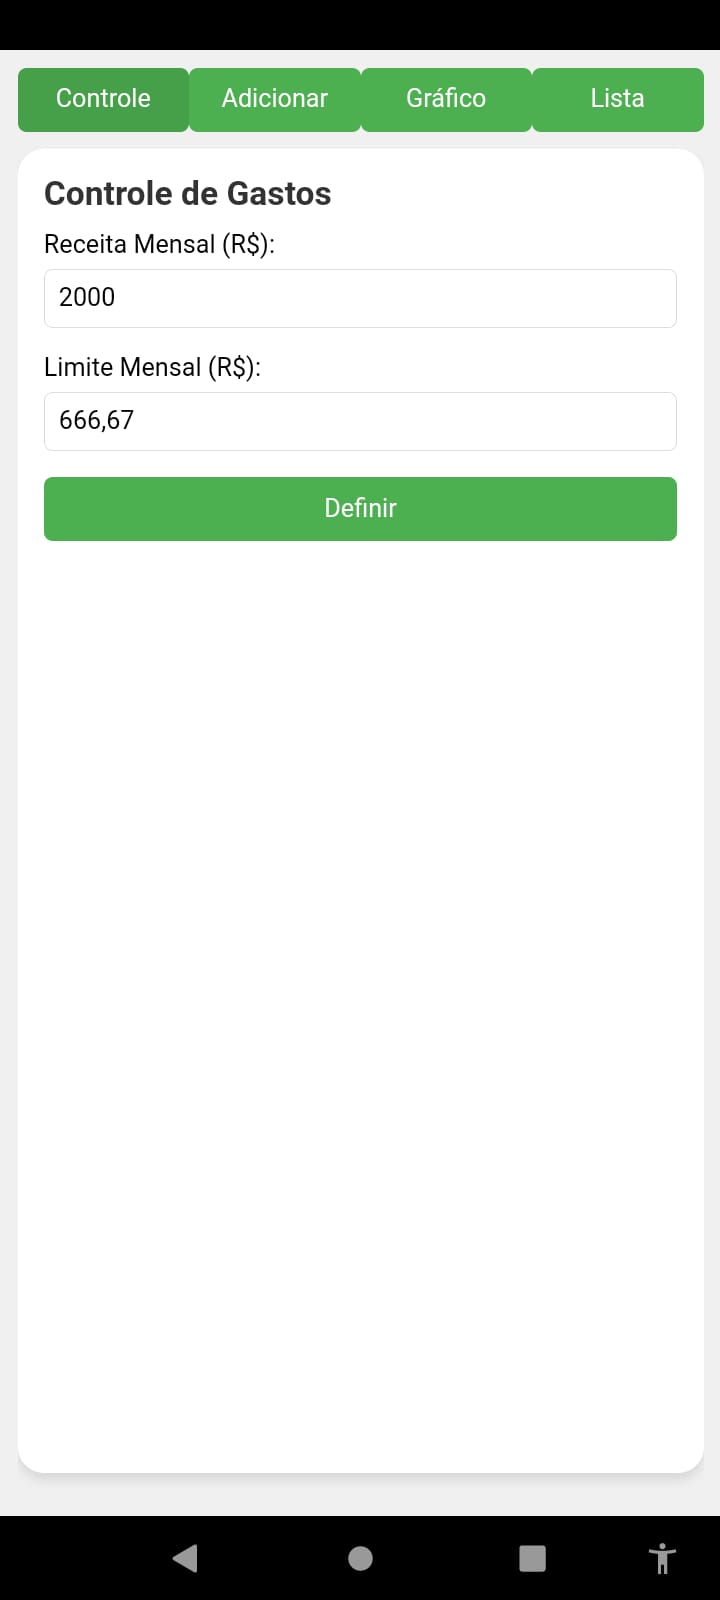
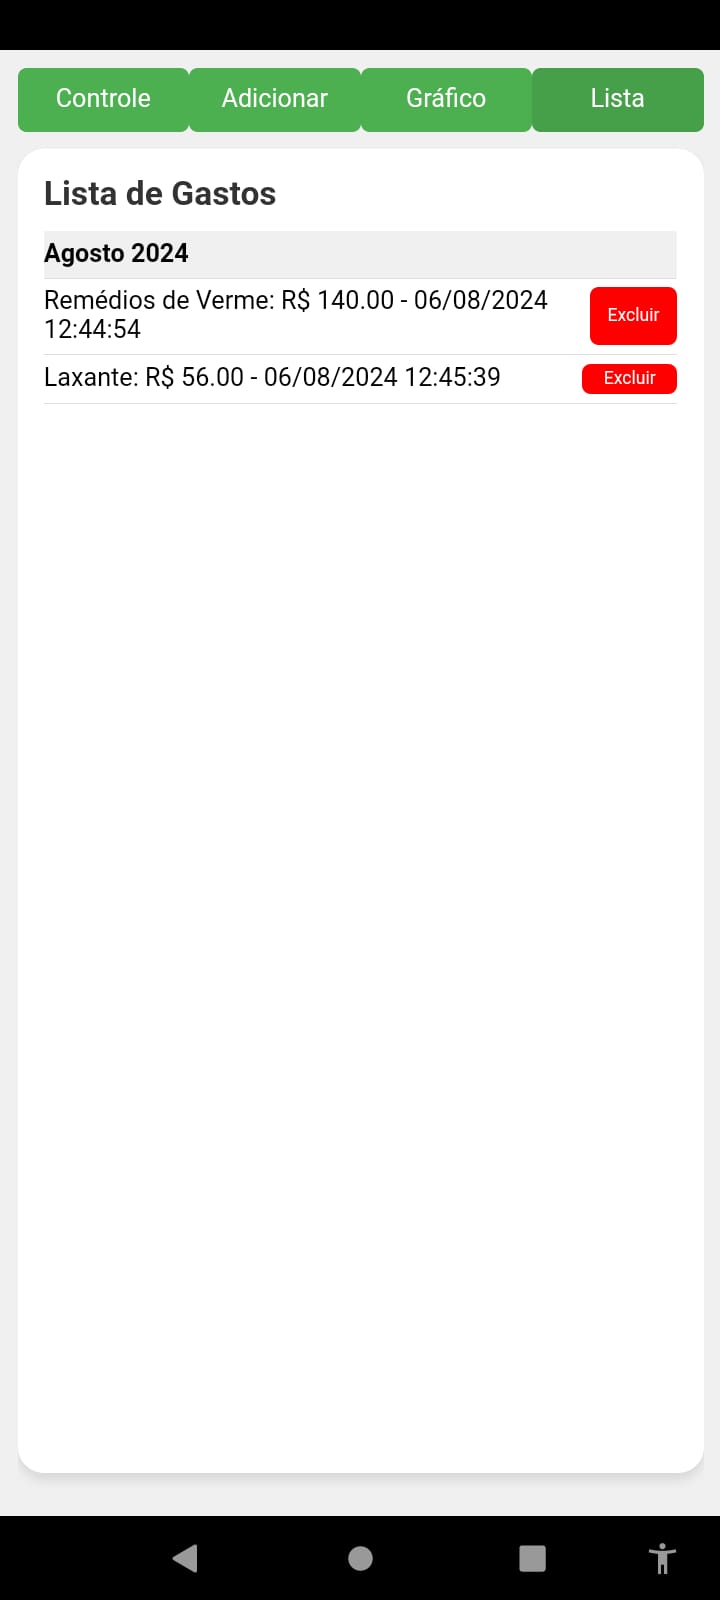
This repository contains the source code for the "Expense Tracker" app, a simple and intuitive application to manage your finances. The app allows you to track your income, set monthly spending limits, add expenses, and visualize your financial data through clear and informative charts.
Note: This app has been published on the Play Store and can be accessed here. The source code provided in this repository is for educational purposes only and should not be used for commercial purposes.


Features
- Manage monthly income and expenses.
- Set and track monthly spending limits.
- Add and delete expenses.
- View detailed financial statistics.
- Visualize data with horizontal bar charts.
- Store data locally using TinyDB in MIT App Inventor.
- User-friendly interface with tooltips for additional information.
Getting Started
Prerequisites
- MIT App Inventor account
- Basic knowledge of JavaScript and HTML
Project Structure
index.html: The main HTML file that contains the structure of the app.styles.css: The CSS file that styles the app.script.js: The JavaScript file that handles the app's logic.icon.png: The app icon.banner.png: The app banner image.blocks.png: The image of the MIT App Inventor blocks.
How to Integrate with WebView in MIT App Inventor
-
Set Up WebView Component:
- Open your project in MIT App Inventor.
- Add a
WebViewercomponent to your screen and set its properties:Home URL: Set to the URL of yourindex.htmlfile.WebViewString: Leave it empty initially.Ignore SSL Errors: Check this if necessary.
-
Add TinyDB Component:
- Add a
TinyDBcomponent to your screen and name itTinyDB1.
- Add a
-
Configure WebViewer.WebViewStringChange Event:
- Go to the Blocks section and add the following blocks to manage data storage and retrieval:
When WebViewer.WebViewStringChange: if (WebViewer.WebViewString = "get_data") { set TinyDBData to call TinyDB1.GetValue tag "data" valueIfTagNotThere "{}" call WebViewer.WebViewString to set WebViewer.WebViewString to TinyDBData call WebViewer.EvaluateJavaScript "AppInventorReceiveData(" + TinyDBData + ")" } else { call TinyDB1.StoreValue tag "data" value WebViewer.WebViewString } -
Modify JavaScript to Handle Data from TinyDB:
- Ensure that your JavaScript code includes functions to handle data retrieval and storage using
window.AppInventor.setWebViewStringandwindow.AppInventorReceiveData.
window.AppInventorReceiveData = function(dados) { try { if (dados) { const dadosParse = typeof dados === 'string' ? JSON.parse(dados) : dados; limiteGasto = dadosParse.limiteGasto || 0; receitaMensal = dadosParse.receitaMensal || 0; gastos = Array.isArray(dadosParse.gastos) ? dadosParse.gastos : []; abaAtiva = dadosParse.abaAtiva || 'controle'; // Update HTML values document.getElementById('receitaMensal').value = receitaMensal; document.getElementById('limite').value = limiteGasto; atualizarLista(); atualizarStatus(); ativarAba(abaAtiva); } } catch (error) { mostrarErro('Erro ao receber dados: ' + error.message); } }; function carregarDados() { try { window.AppInventor.setWebViewString("get_data"); } catch (error) { mostrarErro('Erro ao carregar dados: ' + error.message); } } function salvarDados() { try { const dados = { limiteGasto, receitaMensal, gastos, abaAtiva }; window.AppInventor.setWebViewString(JSON.stringify(dados)); } catch (error) { mostrarErro('Erro ao salvar dados: ' + error.message); } } - Ensure that your JavaScript code includes functions to handle data retrieval and storage using
-
Initial Data Load:
- Ensure the data is loaded when the WebView is ready.
window.addEventListener('load', () => {
    try {
        carregarDados();
    } catch (error) {
        mostrarErro('Erro ao carregar a página: ' + error.message);
    }
});

Running the Project
-
Clone the repository to your local machine.
git clone https://github.com/yourusername/expense-tracker-app.git -
Open
index.htmlin a web browser to preview the app. -
Upload
index.html,styles.css,script.js,icon.png, andbanner.pngto your MIT App Inventor project resources. -
Configure the WebViewer and TinyDB components as described above.
Contact
For any questions or support, please contact:
Email: iagolirapassos@gmail.com
License
This project is licensed under the Creative Commons Attribution-NonCommercial 4.0 International (CC BY-NC 4.0). For more details, see the LICENSE file.
By following this README, developers can understand the structure and functionality of the "Expense Tracker" app, integrate it with MIT App Inventor's WebView component, and properly configure the necessary TinyDB blocks to store and retrieve data. The source code is provided for educational purposes only and should not be used for commercial purposes.